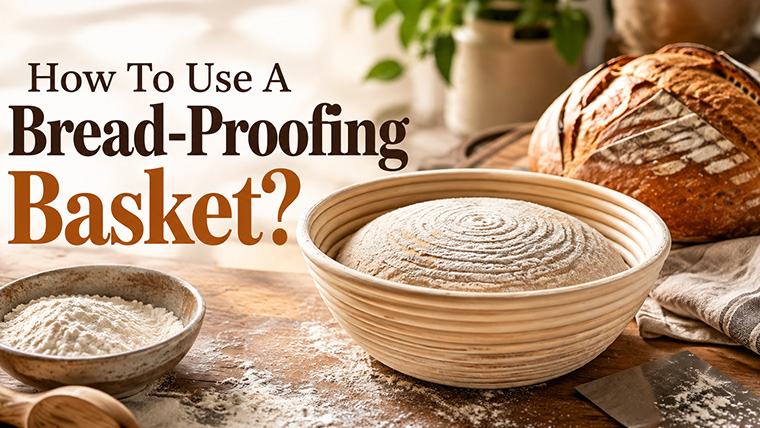
You know that perfectly round, evenly domed look artisan loaves seem to have every single time? That’s not just skill talking. A lot of it comes down to one simple tool a proofing basket that quietly holds the dough’s shape while it does its final rise before hitting the oven.
And this isn’t some new trick, either. Way before anyone was pouring dough into metal tins, people were weaving baskets out of reeds, grass, whatever they had, and using them for exactly this. It’s stuck around because, honestly, it just works. If you actually want to get the hang of using one properly, our Cake Baking Classes in Anna Nagar walk you through it hands-on and no, this isn’t just a “professional bakers only” skill. Home bakers pick it up fast once they’ve seen it done a couple of times.
So What Is a Proofing Basket, Really?
You’ll hear these called bannetons or brotforms too, and they come in pretty much every shape you’d need round, oval, long, whatever fits your loaf. Some people line theirs with linen for a smoother crust; others skip the liner altogether and let the basket’s weave leave its mark on the bread, which honestly looks pretty great once it’s baked. Either way, the basket’s whole job is to hold the dough up while it proofs, so it rises the way you want instead of just spreading out flat on the counter.
Okay, How Do You Actually Use One?
First thing, flour the basket generously, whether that’s the bare wicker or a linen liner, then tap out whatever’s extra. Go ahead and knead and shape your dough like you normally would. Once it’s shaped, dust the outside with a bit of flour and set it into the basket upside down, instead of letting it proof out in the open on the counter. If you’ve got a wood fiber basket, don’t overthink it, no real prep needed, just a light flour dusting before each use and you’re good.
Some bakers swear by rice flour here, but in our baking classes, we usually just tell people to stick with the same wheat flour they’re already using in the dough, it behaves more predictably. And if you’re still new to this, don’t be shy with the flour. Too much is genuinely better than too little when you’re starting out. Any extra brushes off easily before or after baking anyway.
When you’re ready to bake, flip the basket over onto your baking sheet or peel and let gravity do the work. Hold it steady just above the surface and the dough usually drops right out on its own. Because it was proofing upside down, what was the top of your loaf is now facing down, and the side that was against the basket becomes the visible top. Before you flip it, lay down some parchment paper or a scatter of cornmeal on your baking surface so everything slides off cleanly.
A Few Things You Really Shouldn’t Do
Taking baking courses in Chennai tends to save people from the mistakes everyone makes early on. The big one a proofing basket is for proofing, full stop. It’s not a baking dish, and it never goes in the oven.
Don’t wash it, either. Just brush off any leftover flour and let it dry somewhere warm where moisture isn’t hanging around. The one thing you really want to avoid is storing it while it’s still damp, that’s basically an invitation for mold. Every now and then, give it a proper once-over with a stiff brush to clear out flour that’s built up over time.
Can I use a proofing basket without a liner?
Sure, plenty of bakers go without one. It leaves a nice rustic pattern from the weave on the crust. If you’d rather have a smoother finish, a linen liner does that instead, it’s really just a preference thing.
What happens if I don’t flour the basket enough?
The dough will likely stick when you try to release it, which is a headache you don’t want mid-bake. When in doubt, flour a little more generously, especially while you’re still getting a feel for it.
Can I let the dough proof overnight in the fridge inside the basket?
Yes, and it’s a great way to build more flavor into the dough. Just flour the basket well beforehand so the loaf comes out cleanly once it’s ready to bake the next day.
How do I know if my proofing basket needs to be replaced?
Keep an eye out for a musty smell or dark spots, which usually show up if it’s been stored damp. Otherwise, if you’re drying it properly and brushing it out now and then, it should last you a good while.
Can I actually learn this hands-on instead of just reading about it?
Yeah, that’s really the best way to pick it up. Our baking classes take you through the whole process in person flouring, shaping, the release, all of it, so you’re learning by doing instead of guessing at home.