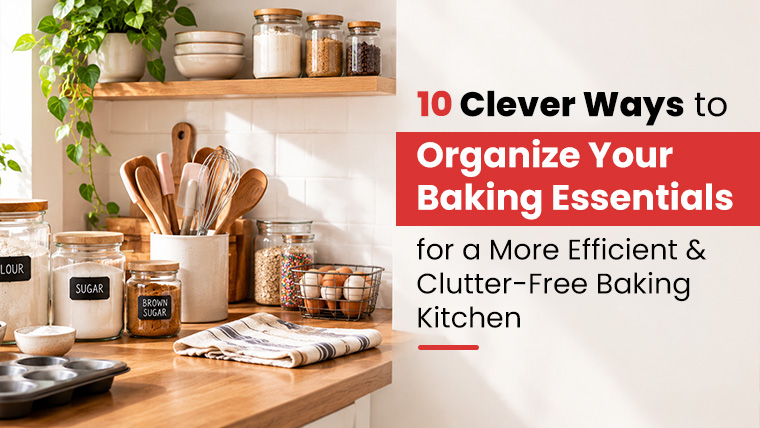
An organised baking kitchen reduces measuring errors, shortens preparation time and protects ingredients from humidity, heat and pests. This guide covers ten methods: zoning the kitchen by task, storing flours and sugars in labelled airtight containers, testing leaveners on a schedule, keeping measuring tools in one place, storing trays vertically, sorting small tools in drawer dividers, controlling temperature for chocolate and nuts, packing decorating supplies in a caddy, keeping liners and wraps within reach, and tracking stock with a weekly reset. At Zero In Academy, we teach workspace organisation as part of our baking courses in Chennai, because a bake that begins with every item in reach finishes with fewer mistakes. The sections below explain each method with the practical detail you need to apply it in a home or small commercial kitchen.
Why Organisation Affects Baking Results
Baking leaves little room for improvisation. A missed ingredient, an expired leavener or a warped tray changes the outcome, and the cake or bread shows it.
Disorganised kitchens produce the same problems repeatedly:
- Flour absorbs moisture and develops lumps or weevils in Chennai’s humid climate.
- Cooks measure from memory because the scale or spoons are buried in a drawer.
- Chocolate blooms and nuts turn rancid when stored near the oven or in direct light.
- Batter waits on the counter while someone searches for the correct tin.
Each of these costs ingredients and time. The ten methods below address them in the order most home bakers encounter them.
10 Practical Ways to Organise Your Baking Essentials
Zone Your Kitchen by Task
Group items by the stage of baking where you use them instead of by type. Place flour, sugar, scale and mixing bowls in one mixing zone. Place trays, tins, liners and the oven gloves beside the oven. Keep the cooling racks, palette knives and decorating tools near the area where finished bakes rest.
Store Flours and Sugars in Labelled Airtight Containers
Move flour, maida, bread flour, whole wheat flour and sugars out of their paper or thin plastic packaging as soon as you open them. Square containers with a wide opening use shelf space more efficiently than round ones, and a scoop that stays inside each container prevents cross-contamination.
Label every container with the ingredient name and the date you opened the pack. White flour stays usable for roughly six to eight months, while whole wheat flour and almond flour hold their quality for a shorter period and keep better in the refrigerator.
Test and Separate Your Leaveners
Baking powder, baking soda and yeast lose strength with time and moisture. Store them in small sealed jars on a high shelf, away from the stove and the sink.
Test baking powder by stirring a teaspoon into hot water, since fresh powder fizzes immediately. Test baking soda with a splash of vinegar. Opened instant yeast keeps for several months in the refrigerator and longer in the freezer. A failed rise often traces back to a leavener that nobody tested.
Keep Measuring Tools in One Fixed Place
A digital scale, a nested set of measuring cups and spoons, a liquid measuring jug and a thermometer should share one drawer or one hook rail near the mixing zone. Weighing ingredients in grams gives more consistent results than cup measures, particularly for flour, which varies in density depending on how it is scooped.
Store Trays, Tins and Racks Vertically
Stacked sheet pans trap moisture and scratch each other, and the one you need is always at the bottom. A vertical tray divider or a slotted cabinet rack lets you pull a single pan without lifting the rest.
Round cake tins, loaf tins and muffin trays work well on a deep shelf sorted by size, with the most frequently used tins at the front. Tall tins such as bundt moulds and springform pans belong on a lower shelf where you can lift them without reaching overhead.
Sort Small Tools with Drawer Dividers
Spatulas, whisks, bench scrapers, piping tips, cookie cutters and offset spatulas create clutter because each is small and few of them are alike. Adjustable drawer dividers give each tool type a fixed compartment.
Keep piping tips in a labelled box, separated by nozzle number, and store the couplers with them. Hang whisks and ladles on a rail only if they get daily use, since open items collect kitchen dust.
Control Temperature for Chocolate and Nuts
Chocolate keeps best at roughly 15 to 18°C in a dry, dark place. In a warm kitchen, wrap it in an airtight container and store it in the coolest part of the refrigerator, then let it return to room temperature before opening the container so that condensation does not form on the surface.
Nuts contain oils that turn rancid in heat, so store walnuts, almonds and pecans in sealed containers in the refrigerator or freezer.
Pack Decorating Supplies into a Portable Caddy
Gel colours, sprinkles, edible glitter, piping bags, couplers and small spatulas belong in one lidded caddy that you can carry to the workbench. A turntable, cake boards and a bench scraper fit in the same cupboard.
Keep Liners and Wraps Within Reach
Parchment paper, baking paper, foil, cling film and silicone mats get used in almost every bake. Mount a dispenser inside a cabinet door or keep them in a shallow drawer beside the oven, cut to the sizes of your common trays.
Pre-cut parchment rounds for your 6-inch, 8-inch and 9-inch tins save time and give clean release every time.
Track Stock and Reset Weekly
Rotate ingredients so that the oldest pack is used first, and place new purchases behind existing stock. Write a short list of minimum quantities for flour, sugar, butter, eggs, cocoa and vanilla. When a container reaches the minimum, add it to the shopping list.
Spend ten minutes at the end of each week wiping shelves, returning tools to their zones and discarding anything expired.
How We Teach Kitchen Organisation at Zero In Academy
Mise en place is part of every session at Zero In Academy. Students weigh and arrange ingredients before the first mix, label their storage containers and return tools to their stations at the end of the class. This habit carries over directly to home kitchens and commercial bakeries, where order determines how many orders a baker can complete in a day.
Conclusion
An organised baking kitchen gives you accurate measurements, ingredients that perform as expected and a workspace where each bake proceeds without interruption. The ten methods above apply equally to a home counter and a professional production kitchen. Learners who want to build these habits under trainer guidance can explore baking classes Anna Nagar through Zero In Academy, where practical sessions teach organisation along with technique.
How should I store flour in a humid climate like Chennai?
Use airtight containers with a rubber seal, and keep them off the floor and away from the stove. Whole wheat flour and nut flours store better in the refrigerator. Check each container for lumps or an off smell before every use.
Which baking tools do I need to organise first?
Start with the tools you use in every bake: a scale, measuring spoons, a spatula, a whisk and two tins. These items decide how fast you can work, so give them a fixed location before arranging the rest.
How often should I check my baking powder and yeast?
Test baking powder every few months and before any bake where the rise is critical. Check yeast by proofing a pinch in warm water with sugar, and discard it when no foam forms within ten minutes.
Where should I keep chocolate in summer?
Place it in an airtight container in the coolest section of the refrigerator and bring it back to room temperature before opening. Direct exposure to humid air causes sugar bloom, which leaves a white film on the surface.
How can a small kitchen hold a full set of baking equipment?
Use wall rails, cabinet-door dispensers and tray dividers to gain vertical space. Keep daily tools at eye level and tall or heavy equipment on lower shelves.