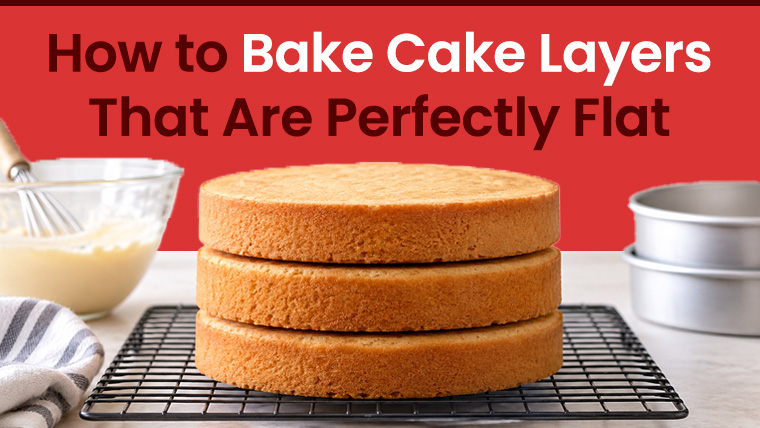
There’s this idea going around that perfectly flat cake layers are some kind of professional-only skill. Honestly, when we first got into baking, we actually leaned toward cupcakes over stacked cakes, and the reason was pretty simple, we just hated wasting cake. You know the routine. You bake a layer, it puffs up into this dome in the middle, and then you’re stuck slicing it off just to get something flat enough to stack, and those trimmings either disappear immediately as a snack or end up in the bin. But beyond the whole dome situation, there was this other thing that used to bug us endlessly, the middle of the cake would turn out lovely and moist while the sides went dry and sad.
Turns out there’s a real reason for this. Cupcakes bake fast because there’s barely any batter in each one, so they’re in and out of the oven quickly. Big cake layers are a whole different beast though. They need way more time, and by the time the center’s finally cooked, the edges have already been sitting in that heat for a solid twenty extra minutes, drying out the entire time without you even realizing it. If you’re curious about the actual science behind why this happens, Baking Classes In Velachery are a genuinely good place to get into it properly.
Before You Even Start
There’s a general approach to baking flat layers, but honestly, it needs tweaking depending on what kind of recipe you’re actually working with. From what we’ve seen, most cake recipes fall into three rough categories, not counting something like Angel Food Cake, which plays by its own rules entirely. You’ve got butter-based recipes, oil-based recipes, and then fruit or vegetable-based ones, think carrot cake or banana bread. Each behaves a little differently once it hits the oven, so one method definitely doesn’t fit all three.
Getting Your Pan Ready
Always line the bottom with a decent non-stick parchment or baking paper. Makes a real difference when it’s time to get the cake out, no fighting, no torn bottoms, no panic. Just sit your tin on the paper, trace around the base, cut it out, and you’re set.
The Basic Method Everyone Builds On
Here’s the core idea most of these techniques come back to. Measure the height of your tin first, then grab a clean towel and cut strips that match that height, long enough to wrap the whole way around. If it overlaps a bit, that’s totally fine, don’t bother trimming it down to size. Soak the strips in water, wring them out until they’re evenly damp, not soaking wet. Grease and line your pan like normal, wrap the damp strips snugly around the outside, secure them, then pour your batter in, smooth the top, and bake as usual.
How This Works for Butter-Based Cakes
This trick genuinely does wonders for butter-based recipes. Wring your towel strips out firmly, more than feels necessary honestly, because if they’re too wet, the sides can actually rise faster than the middle in really moist batters. Before it goes in the oven, run a spatula across the top to level the batter, no need to push it up the sides though. Preheat to 180°C, bake on the middle rack, and halfway through, gently rotate the pans so everything cooks evenly.
How This Works for Oil-Based Cakes
For oil-based batters, wring the strips a bit lighter, just until they stop dripping. Grease and line the tin as usual, pour in the batter, then slowly swirl the pan so it coats about a centimeter up the edge above where it normally sits. Give it a gentle shake afterward to settle things back down. If you want to actually get comfortable doing this by hand instead of just reading steps, professional baking classes in Chennai are worth checking out for that hands-on practice.
Preheat your oven to 170°C for this one. Pop an empty baking tray on the top rack and your actual cake tins below it. Pour about half a cup of water into the bottom of the oven for a little steam. Bake around 10 minutes, rotate the pans, top up the water a bit, then keep baking for another 20 minutes. After that, pull the empty tray off the top rack, move your cakes up into that spot, rotate them once more, and keep baking until they’re properly done, check with a skewer to be safe.
How This Works for Fruit and Vegetable Cakes
Interestingly, these sit somewhere in between the other two. Fruits and veggies naturally release a good bit of moisture while baking, which helps the layers even out on their own to some degree. Still, using a nicely damp towel strip helps here too. Grease and line the tins, wrap the damp strips around, pour in your batter, swirl gently to coat about a centimeter of the edge, and shake lightly to settle everything back down. If you’re baking late in the evening, doing this step right before bed lets it all settle nicely overnight. Bakery classes in Chennai are genuinely a good spot to sharpen this kind of technique if you want it to feel second nature eventually.
1. Why do my layers still dome even after using the cake strip trick?
Usually the strips weren’t wet enough or weren’t wrapped tightly around the pan. They need firm, even contact with the sides to actually slow down heat there, so check they’re snug and properly damp before baking.
2. Can I reuse the same cloth strips again and again?
Yeah, totally fine, as long as you wash and dry them between uses. Just watch out for leftover oils or smells from earlier bakes lingering on the fabric and sneaking into your next batch.
3. Is there something I can just buy instead of making my own strips?
There are silicone and fabric baking strips made exactly for this, working on the same principle as a wet towel, just more convenient since there’s no wetting and wringing involved each time.
4. Does this trick still matter for smaller pans, like 6-inch ones?
It does, though smaller pans tend to dome less anyway since there’s less batter overall. The strip method still helps, but you likely won’t notice as dramatic a difference compared to bigger, deeper pans.
5. How do I check doneness without slicing into the cake?
A skewer through the center should come out clean or with just a few crumbs stuck to it. Pressing the top gently also works, it should spring back rather than leave a dent behind.